Is a CPU cooler necessary for my PC?
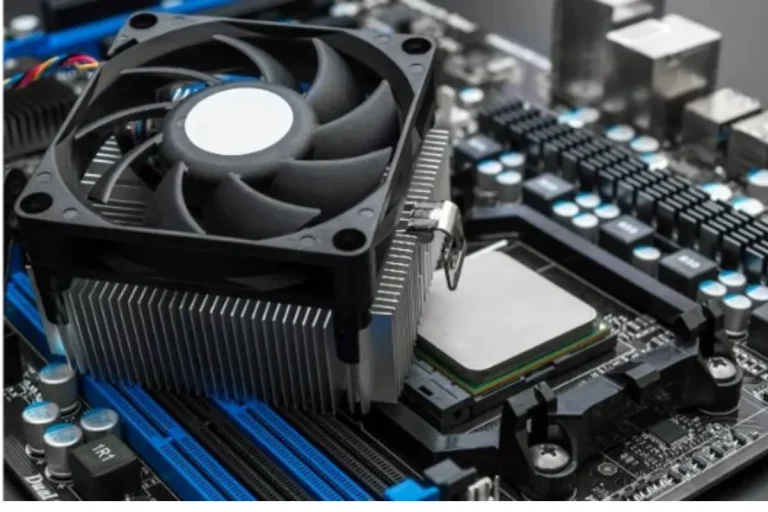
Are you wondering if your PC really needs a CPU cooler? Well, the answer is a resounding yes! A CPU cooler is an essential component that helps maintain the optimal temperature of your computer’s brain – the CPU. Without it, your PC could overheat, leading to performance issues and potential damage. In this blog post, we’ll dive into the importance of CPU coolers, their benefits, types, installation process, and more.
Benefits of Using a CPU Cooler
When it comes to keeping your PC running smoothly, a CPU cooler plays a crucial role. Let’s explore the advantages that come with using a CPU cooler and how it can enhance your overall system performance and longevity.
Improved Stability and Longevity
One of the key benefits of using a CPU cooler is the improved stability it brings to your PC. By efficiently dissipating heat, a CPU cooler ensures that your CPU operates within its optimal temperature range. This prevents overheating, which can lead to system crashes, freezes, and even permanent damage to your hardware. With a CPU cooler in place, you can enjoy a stable and reliable computing experience.
Prevention of Thermal Throttling
Thermal throttling is a phenomenon where the CPU automatically reduces its clock speed to prevent overheating. This can significantly impact your system’s performance, causing slowdowns and lag. By utilizing a CPU cooler, you can effectively manage the temperature and minimize the occurrence of thermal throttling. This allows your CPU to consistently operate at its full potential, ensuring smooth multitasking, faster processing, and better gaming performance.
Factors to Consider When Choosing a CPU Cooler
Choosing the right CPU cooler for your PC is crucial to ensure optimal performance and longevity. In this section, we’ll discuss the key factors you should consider when selecting a CPU cooler and provide helpful tips to guide you in making the right choice.
Compatibility with the CPU Socket, TDP Rating
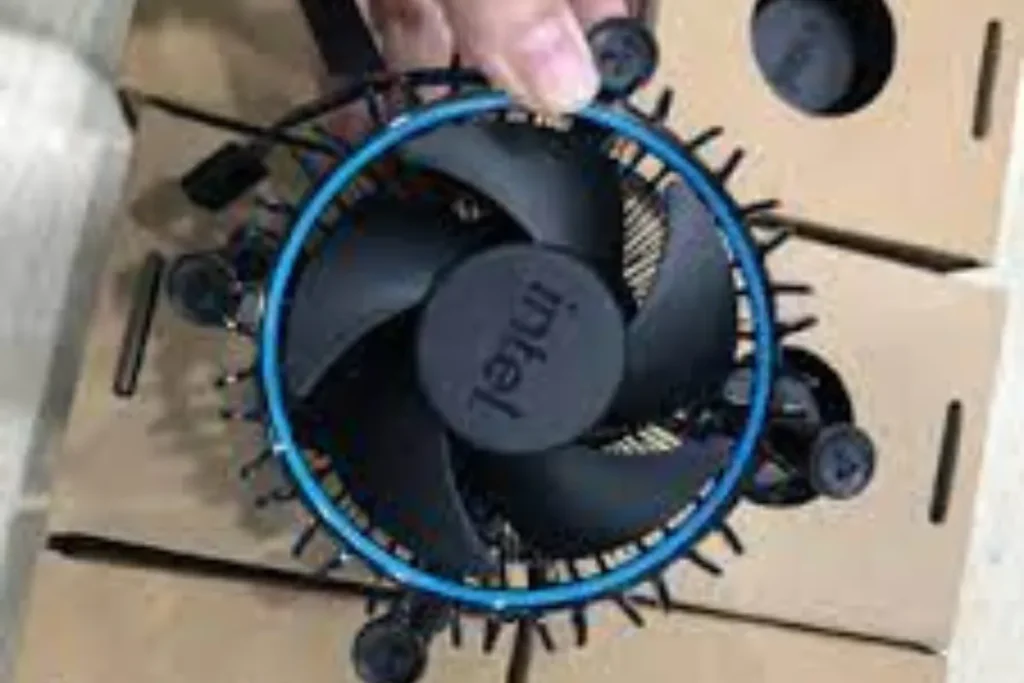
When choosing a CPU cooler, it’s essential to consider its compatibility with your CPU socket. Different CPUs have varying socket types, such as LGA, AM4, or TR4. Ensure that the CPU cooler you choose is compatible with your specific CPU socket to ensure a proper fit and efficient heat dissipation.
Another important factor to consider is the Thermal Design Power (TDP) rating of your CPU. The TDP rating indicates the amount of heat generated by the CPU. Select a CPU cooler with a TDP rating that matches or exceeds your CPU’s TDP to ensure effective cooling.
Noise level is another crucial aspect to consider, especially if you value a quiet computing experience. Look for CPU coolers that offer low noise levels, typically measured in decibels (dB). This way, you can enjoy a peaceful environment without compromising on cooling performance.
Lastly, consider your budget when choosing a CPU cooler. There are various options available, ranging from budget-friendly air coolers to high-end liquid coolers. Set a budget that aligns with your needs and explore different options within that range to find the best balance between performance and cost.
Tips for Selecting the Right CPU Cooler
To select the right CPU cooler for your needs, consider the following tips:
- Research and read reviews to gather insights into the performance and reliability of different CPU coolers.
- Determine your cooling requirements based on your PC usage. Overclockers or gamers might require more robust cooling solutions than casual users.
- Measure the available space inside your PC case to ensure that the CPU cooler you choose fits properly.
- Consider additional features such as RGB lighting or customizable fan speeds if they align with your preferences.
Installing a CPU Cooler
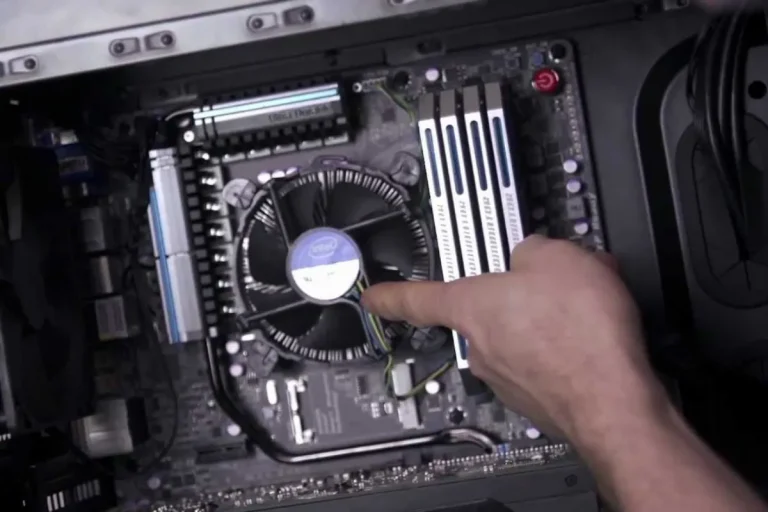
Installing a CPU cooler is a crucial step in ensuring proper heat dissipation and maintaining the longevity of your PC. In this section, we’ll provide you with a step-by-step guide on how to install a CPU cooler, along with necessary precautions and any additional tools or thermal compounds required for the process.
Step-by-Step Guide
- Start by gathering all the necessary tools and components. These typically include a CPU cooler, a screwdriver, a thermal compound, and any mounting hardware provided with the cooler.
- Before beginning the installation, ensure that your PC is powered off and unplugged from the electrical outlet. This will prevent any accidents or damage to your hardware.
- Remove the existing CPU cooler (if applicable) by carefully unscrewing it from the motherboard. Gently twist or rock the cooler to detach it from the CPU.
- Clean the surface of the CPU and the area around it using isopropyl alcohol and a lint-free cloth. This will remove any residual thermal compound or debris.
- Apply a small amount of thermal compound to the center of the CPU. Use a pea-sized dot or a thin line, depending on the manufacturer’s instructions.
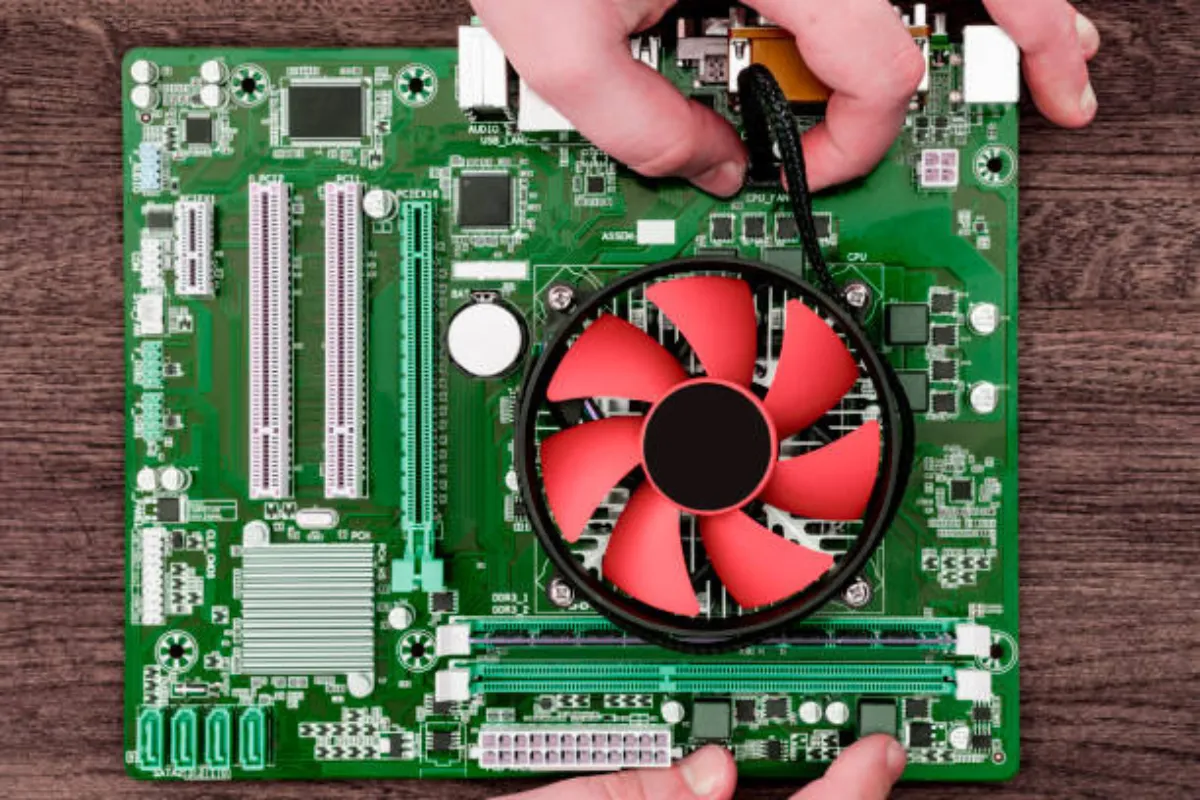
- Place the CPU cooler on top of the CPU, ensuring that the mounting brackets align with the screw holes on the motherboard.
- Secure the CPU cooler in place by screwing it tightly onto the motherboard. Follow the manufacturer’s instructions for the correct screw placement and tightening sequence.
- Double-check that the CPU cooler is securely fastened and properly aligned. Ensure that there is even pressure applied to the CPU surface.
- Connect the CPU cooler’s fan cable to the appropriate header on the motherboard. This will provide power to the fan and allow you to control its speed.
- Finally, reassemble your PC by reconnecting any cables or components you may have disconnected earlier. Close the PC case and plug it back into the power source.
Precautions and Additional Tools
When installing a CPU cooler, it’s important to handle your hardware with care. Avoid applying excessive force or twisting motions that could damage the CPU or motherboard. Additionally, be cautious when handling thermal compounds, as they can be conductive and should not come into contact with other components.
Frequently Asked Questions
1. Why is regular cleaning and maintenance of the CPU cooler important?
Regular cleaning and maintenance of the CPU cooler are important to remove dust, dirt, and debris that can accumulate over time. These particles can impede airflow and hinder heat dissipation, leading to higher temperatures and reduced cooling efficiency.
2. How often should I clean my CPU cooler?
The frequency of cleaning your CPU cooler depends on various factors, such as your environment and usage. As a general guideline, it’s recommended to clean your CPU cooler every 3-6 months.
3. What is the best way to clean a CPU cooler?
To clean a CPU cooler, start by shutting down your PC and unplugging it from the power source. Use compressed air or a soft brush to gently remove dust from the cooler’s fins, fan blades, and heat sink.
4. Can I remove the CPU cooler for cleaning?
Yes, you can remove the CPU cooler for more thorough cleaning. However, it’s important to follow the manufacturer’s instructions and take precautions to avoid damage. Ensure that you have a thermal compound available to reapply when reinstalling the cooler.
Conclusion
In short, yes, a CPU cooler is absolutely necessary for your PC. Whether you’re a casual user or a hardcore gamer, a CPU cooler plays a crucial role in preventing overheating and ensuring optimal performance. Without a proper cooler, your CPU could suffer from heat-related issues, leading to performance degradation or even permanent damage.